I will use Visual Studio in this tutorial and we will try to run a small sample core Console Application inside a Docker container, As a way to learn the basics from which you can continue to explore and test. You can try the same process on VS Code with the small change that you will need to add the Docker extension to your VS Code.
The first thing you will need (If you do not have it already) is to have installed the Docker Desktop, This will enable you to manage docker images in your computer. You can download it from:
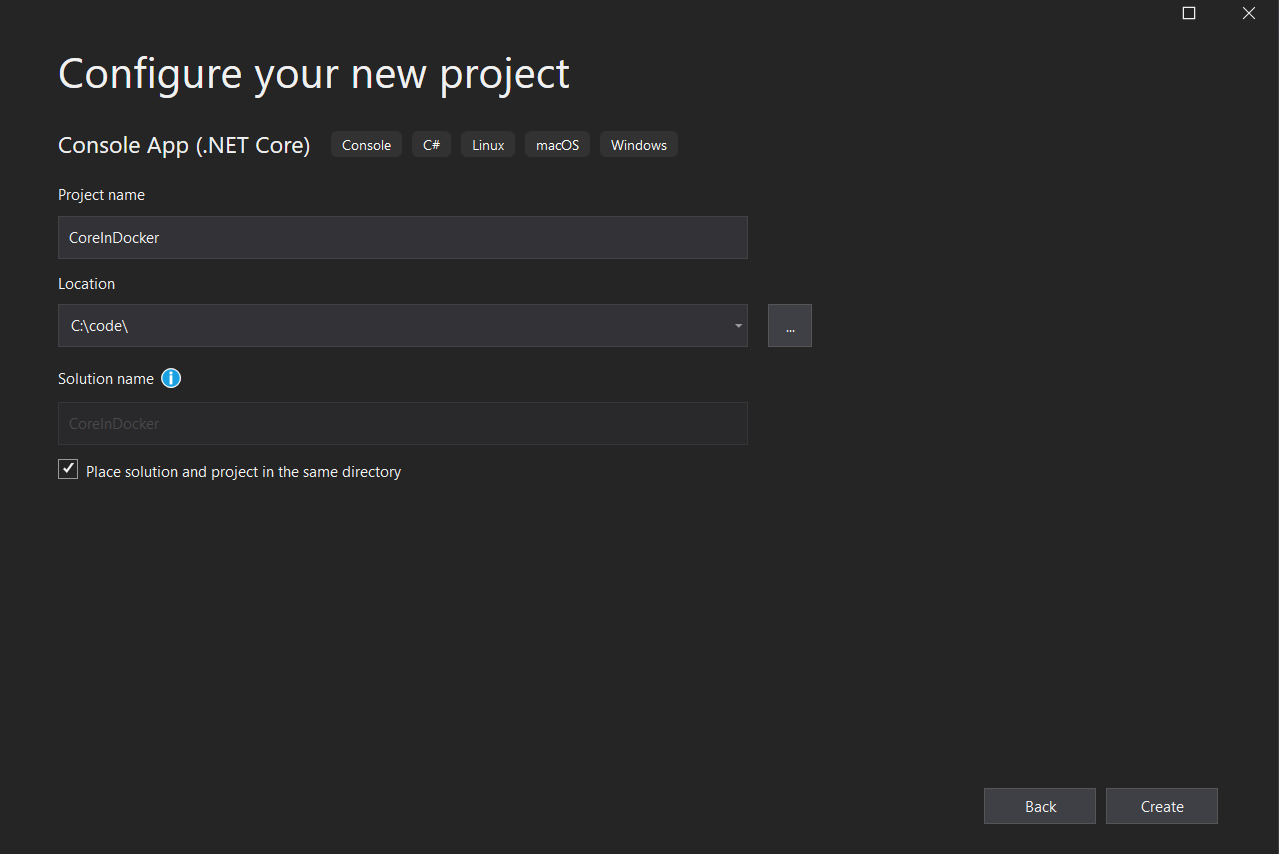
Now lets open Visual studio and create a new console application:

We will call it CoreInDocker this will create a simple hello word console app.
We will now add the docker support to our app:
Rigth click on the Project Name and select add> Docker Support

Visual studio will ask if the Container will be Linux or Windows Based, in this case we will choose Linux, So that I can more clearly show you that the Application is running inside the container:

This will add a file called 'dockerfile' to our project:

This File has the steps Docker will execute to create our docker image. Like getting the base image, building the project, and setting the entry point to CoreInDocker.dll.

If you want to know more about the docker file specifics please visit the DockerFile Reference.
Now that we have the docker file lets change our app, open the file program.cs and change the code to show some environment variables :

This way we will be able to verify if the app is running in our environment or inside the Docker container based on a Linux environment.
We have now everything ready is time to generate our image based on our DockerFile, Which for this example is just an small console app inside a Linux machine, but in reality it could be any kind of application ( a REST API, a Service, etc..)
To build our image, go to the folder where our dockerfile is located, using powershell or the Console and type:
docker build . - t coredocker
The . will include all the files, except the ones declared on the file'.dockerignore' that visual studio created for us, and the option -t is to give a tag name to our image so we can easily reference it.

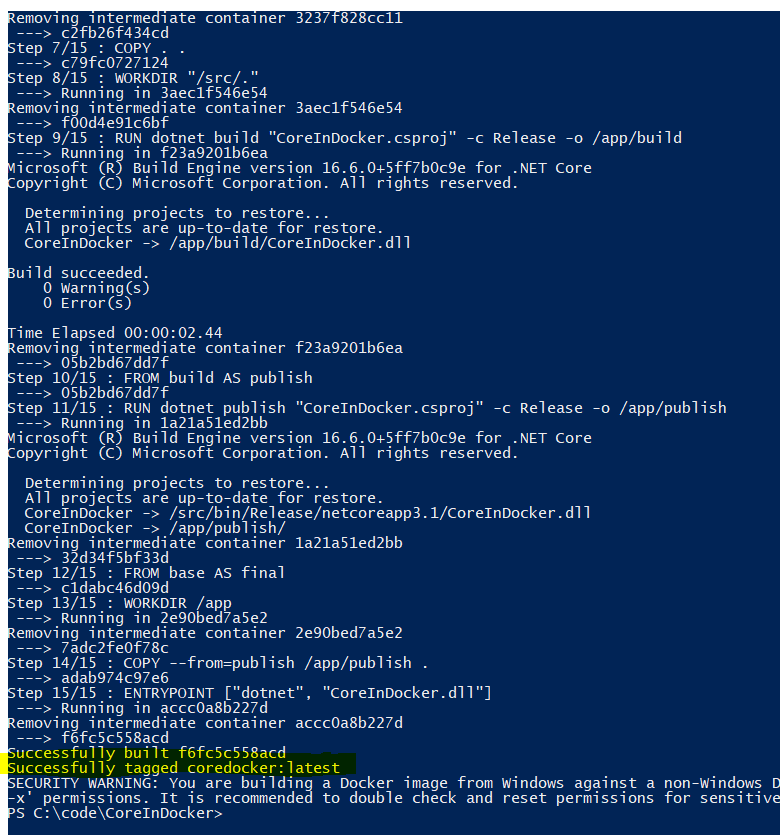
This might take a while since it will download the base linux image, to build on top of it, once it is done you should see the successfully build message.
To see our newly created image (along whit any other image we might have on our computer) we can use the command:
docker images

We can see our image called coredocker is now available.
We can now create images based on coredocker and set them to run, But for this example we will run the image directly using the command:
docker run coredocker:latest

We see that our app has run, and by looking at its output we can verify that it is running inside a Linux Machine.
We can see the difference is if we run the app outside of it's docker container:
dotnet run

We would see our current windows environment.
We can have many containers running, and interacting between them, SO the possibilities are endless.
In case you want to see the files I used, they are on the repository:
And that, my friend, It's all!
No comments:
New comments are not allowed.